
Sewing has always been intimidating for me. I’ve mostly sewn small projects with straight lines or sewn things by hand. The thought of cutting fabric, pinning, basting, and using a machine scared me. I didn’t want to mess up, waste beautiful fabric and have to start over. Or even worse… break an expensive sewing machine.
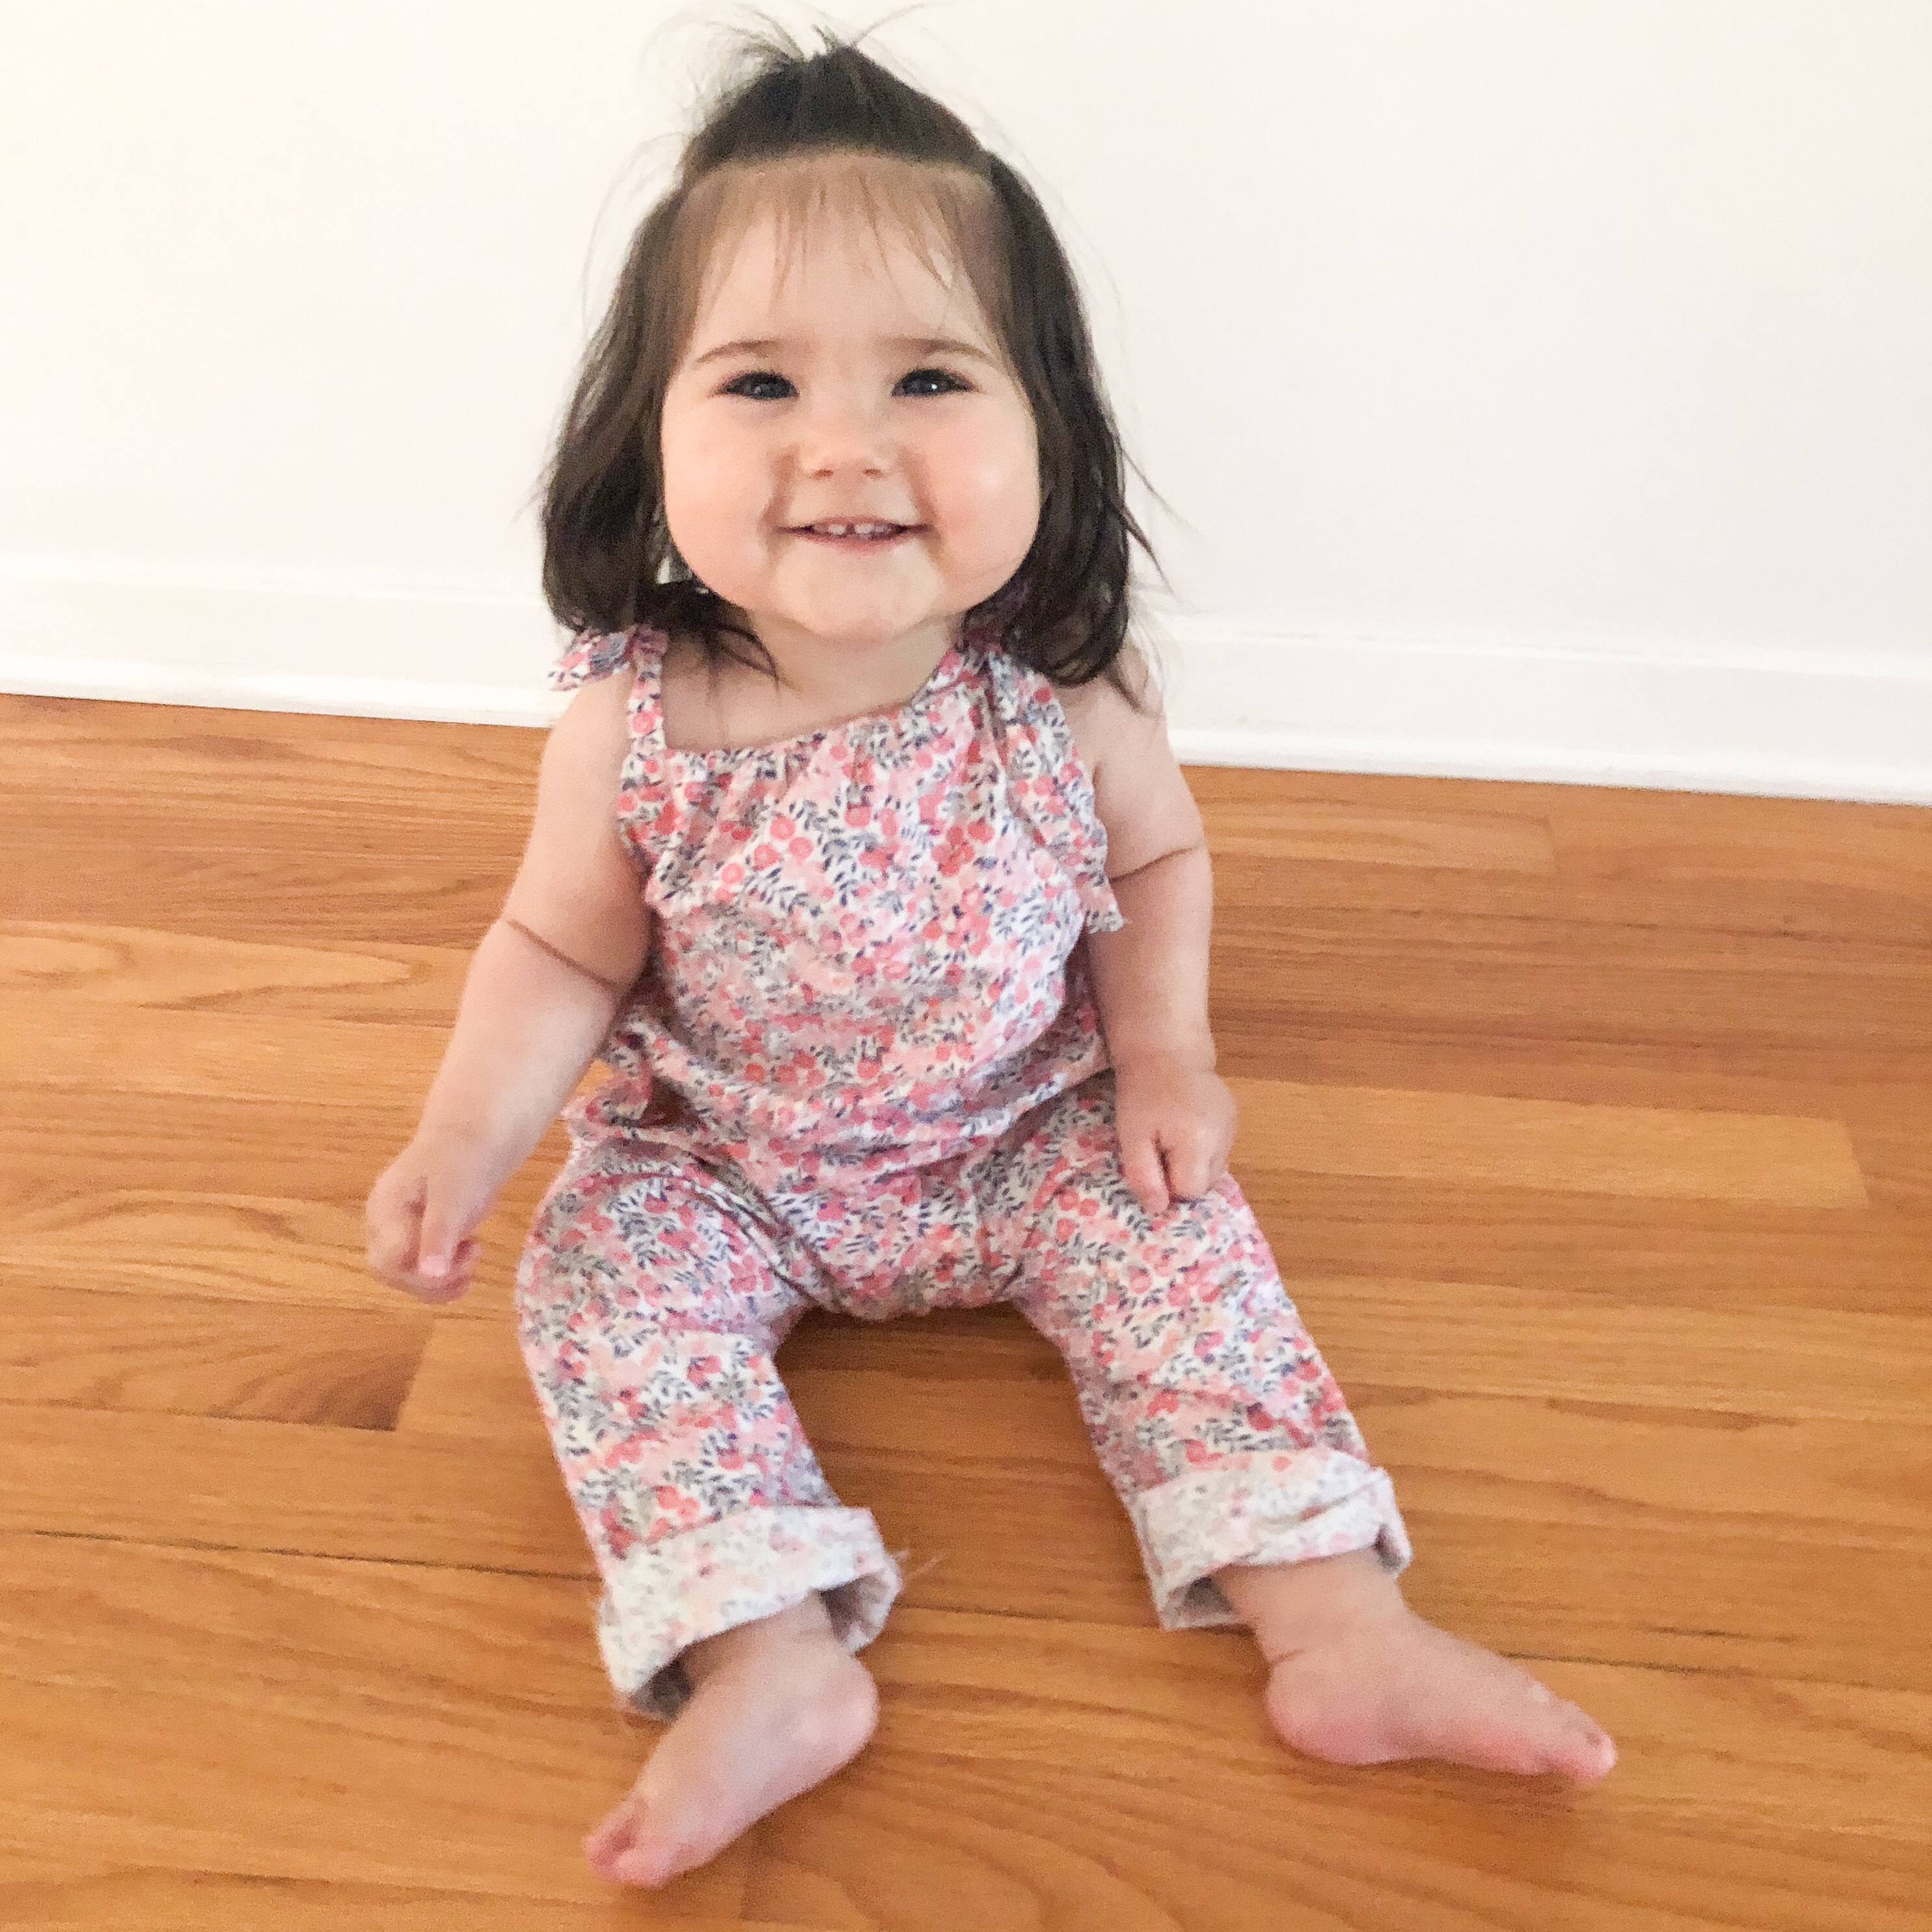
My first ever handmade garment.
When my grandmother passed away, my mom took her old sewing machine for either myself or my sister. It sat in my parent’s basement for a few years before it finally made its way to my house. It’s old, clunky, and super finicky, but I was excited to get it and try to sew stuff myself.
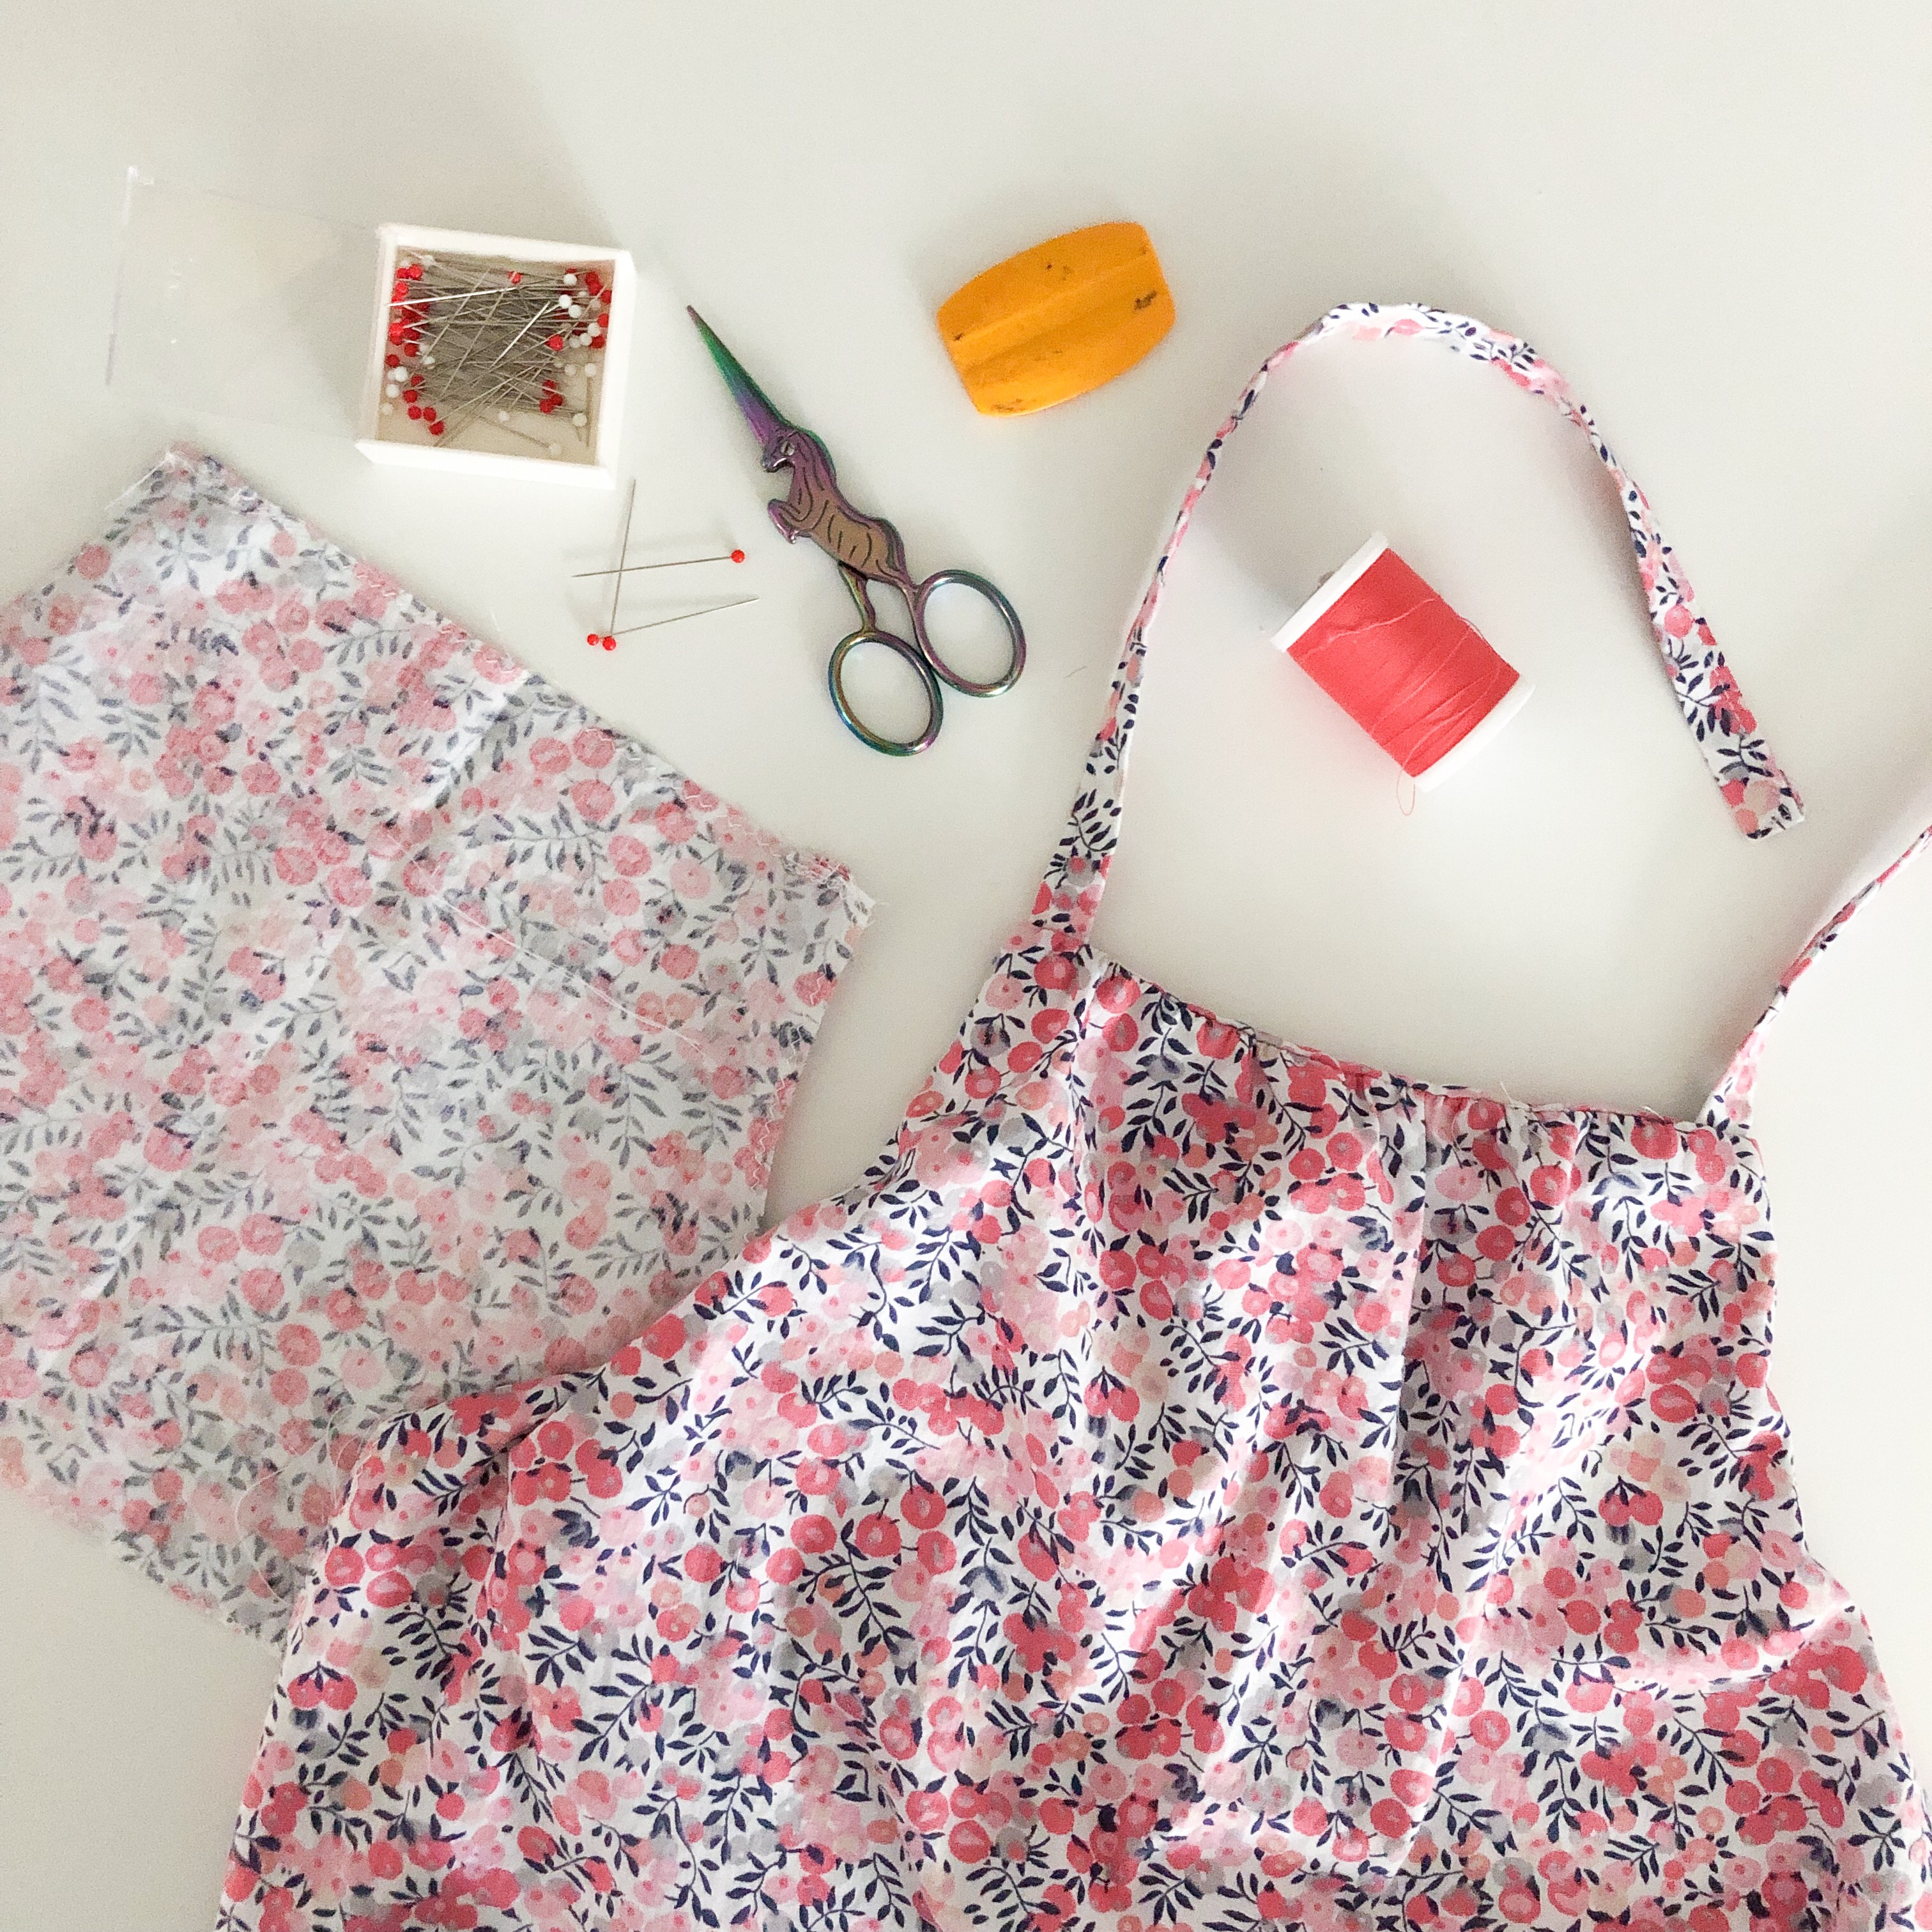
Unicorn scissors were purchased at Fabric Crush and I’m obsessed with them.
Now that I have two daughters, all I can think of is making beautiful clothes for them. I decided to start hunting for patterns to find something in my comfort zone that I thought I could accomplish. As luck would have it, I was approached by Jenna-Rae from Fabric Crush to collaborate on a few projects. I told her some of the things I hoped to make and she said she would help me out. I was very generously gifted fabrics (I used this Forest Berries fabric for the rompers), a calendar kit, and a cute keychain. Jenna-Rae also recommended her awesome Fabric Crushers Facebook group as a source for advice and inspiration.
Off I went with new found confidence to sew my first garments! I downloaded this simple romper pattern from Made by Me Patterns and got started. I won’t go through the process in great detail since the instructions are all available in the pattern, but I will explain my experience.
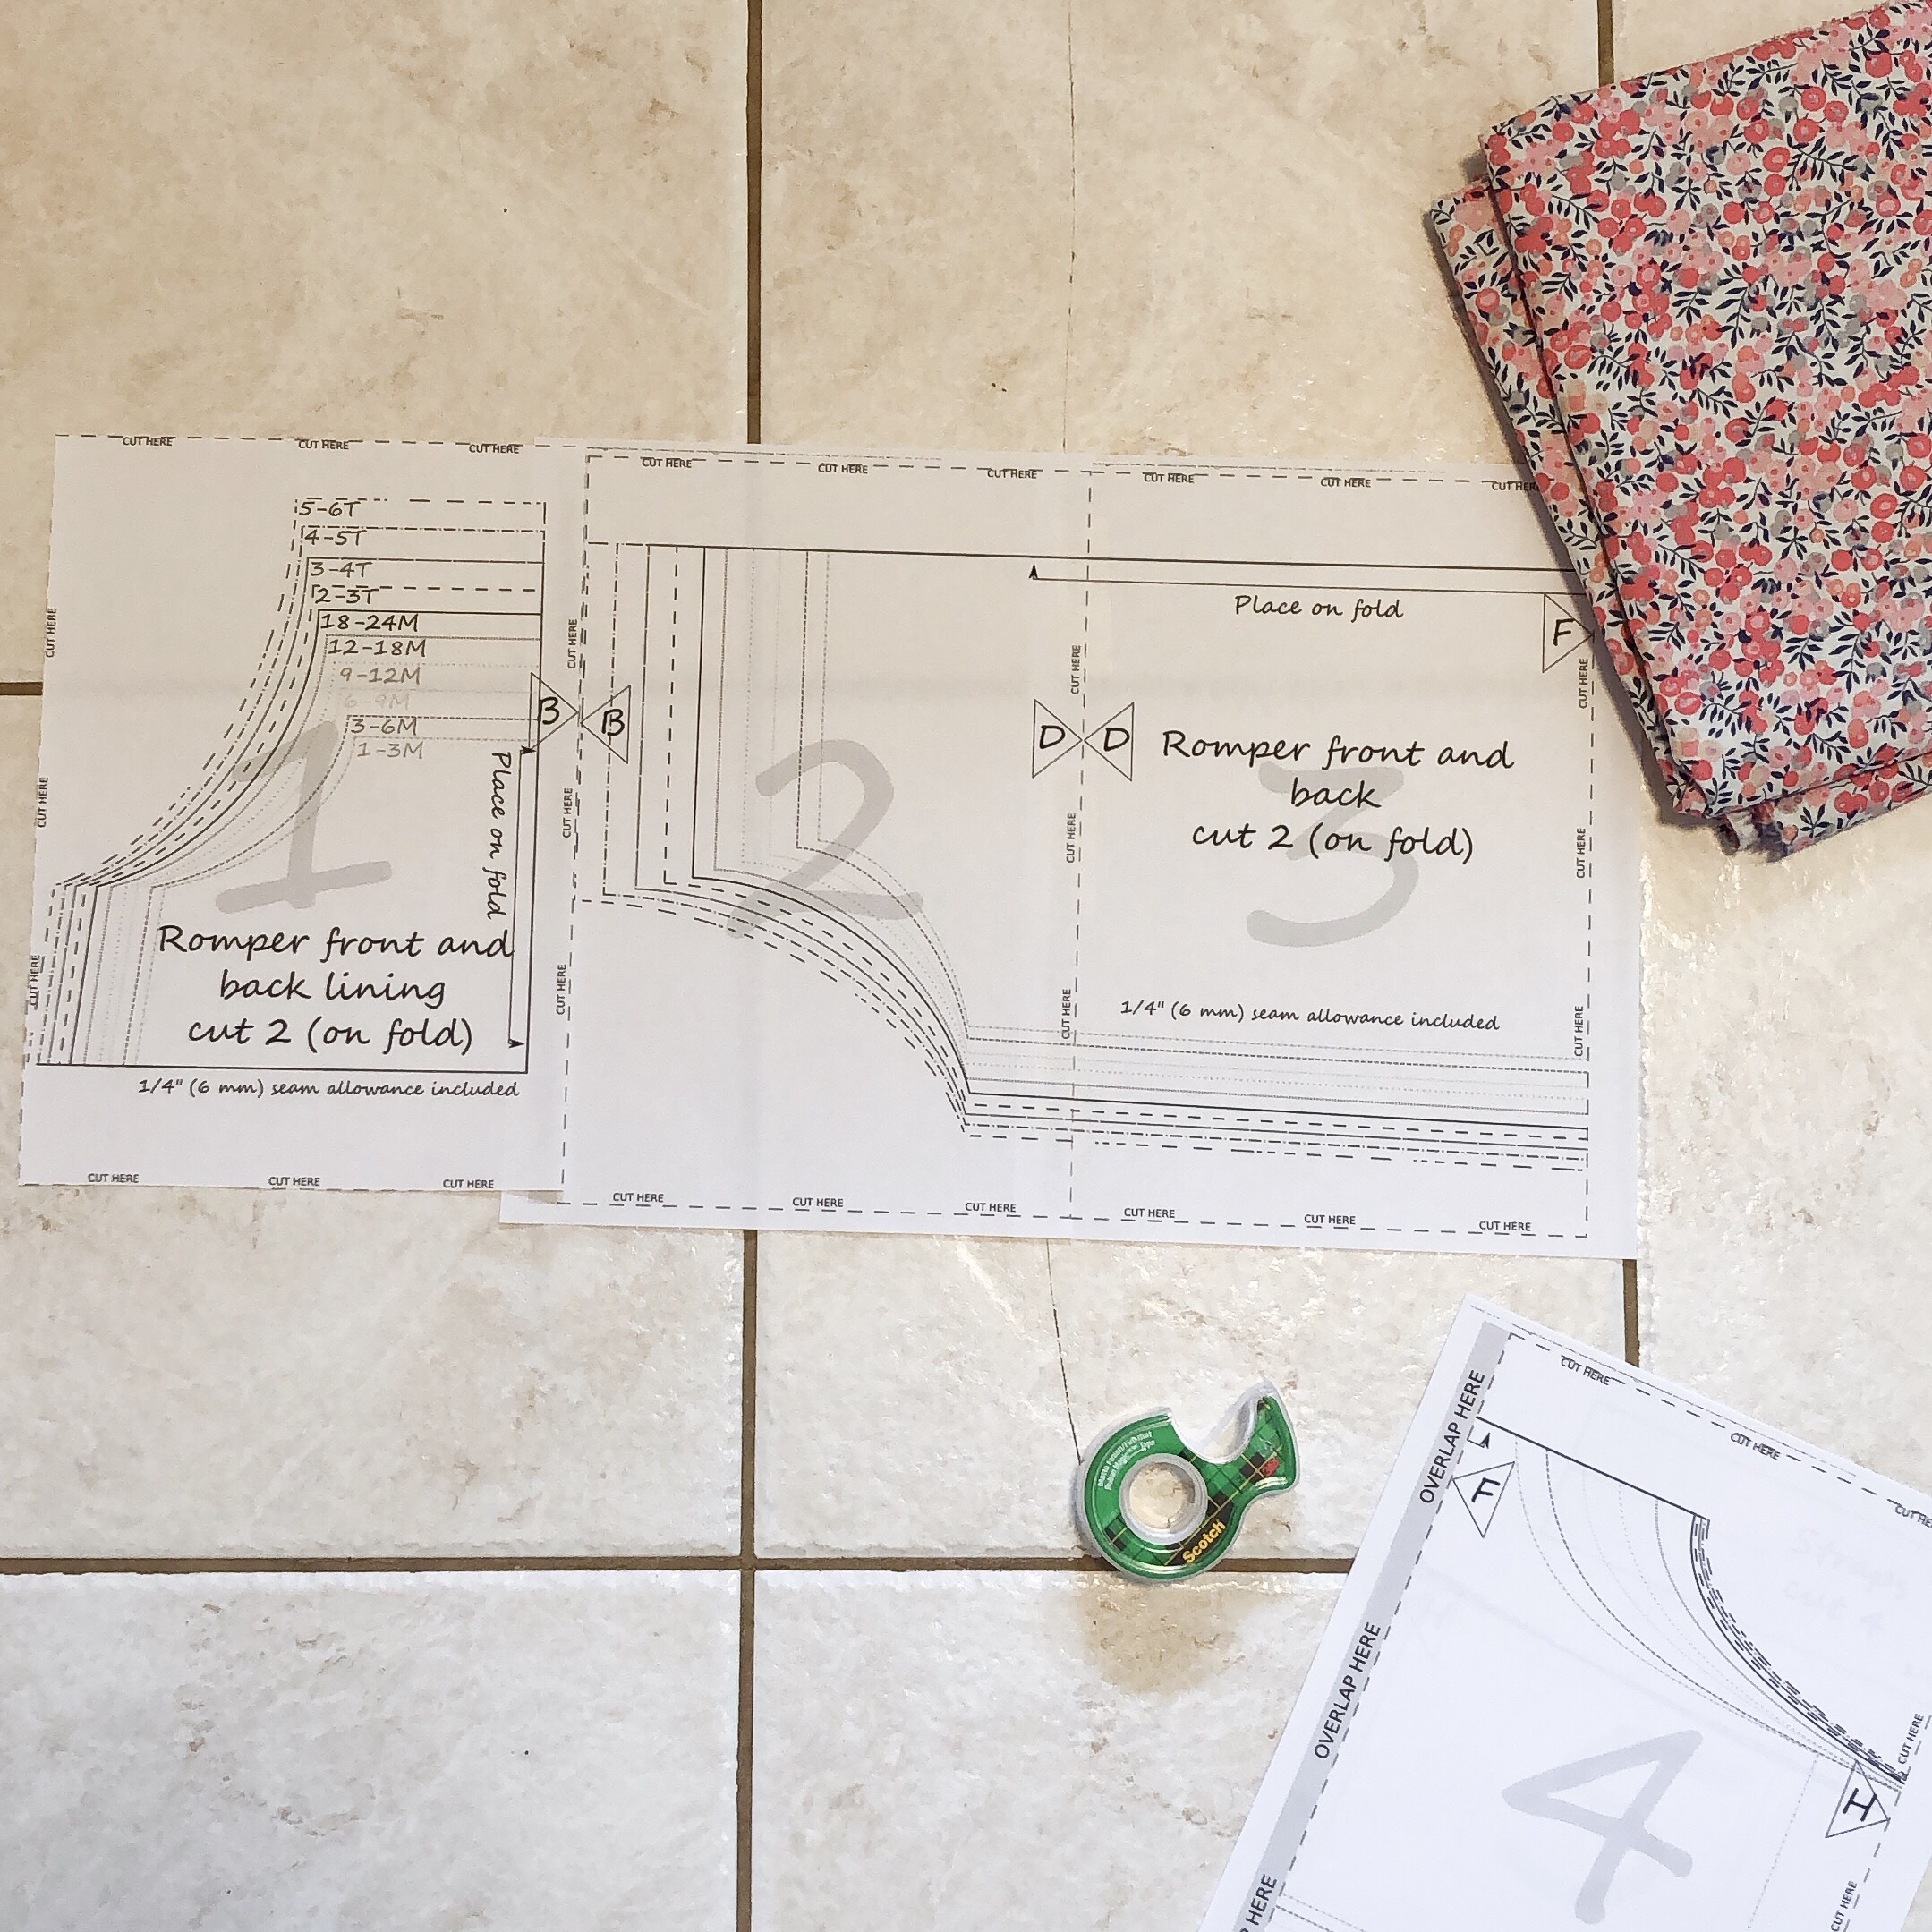
I made sizes 4-5T and 18-24m for my girls (age 3 and 1). I printed the pattern at home on my printer, taped it all together on my kitchen floor and cut it out. I started with the large size first, then recut the pattern for the smaller size.
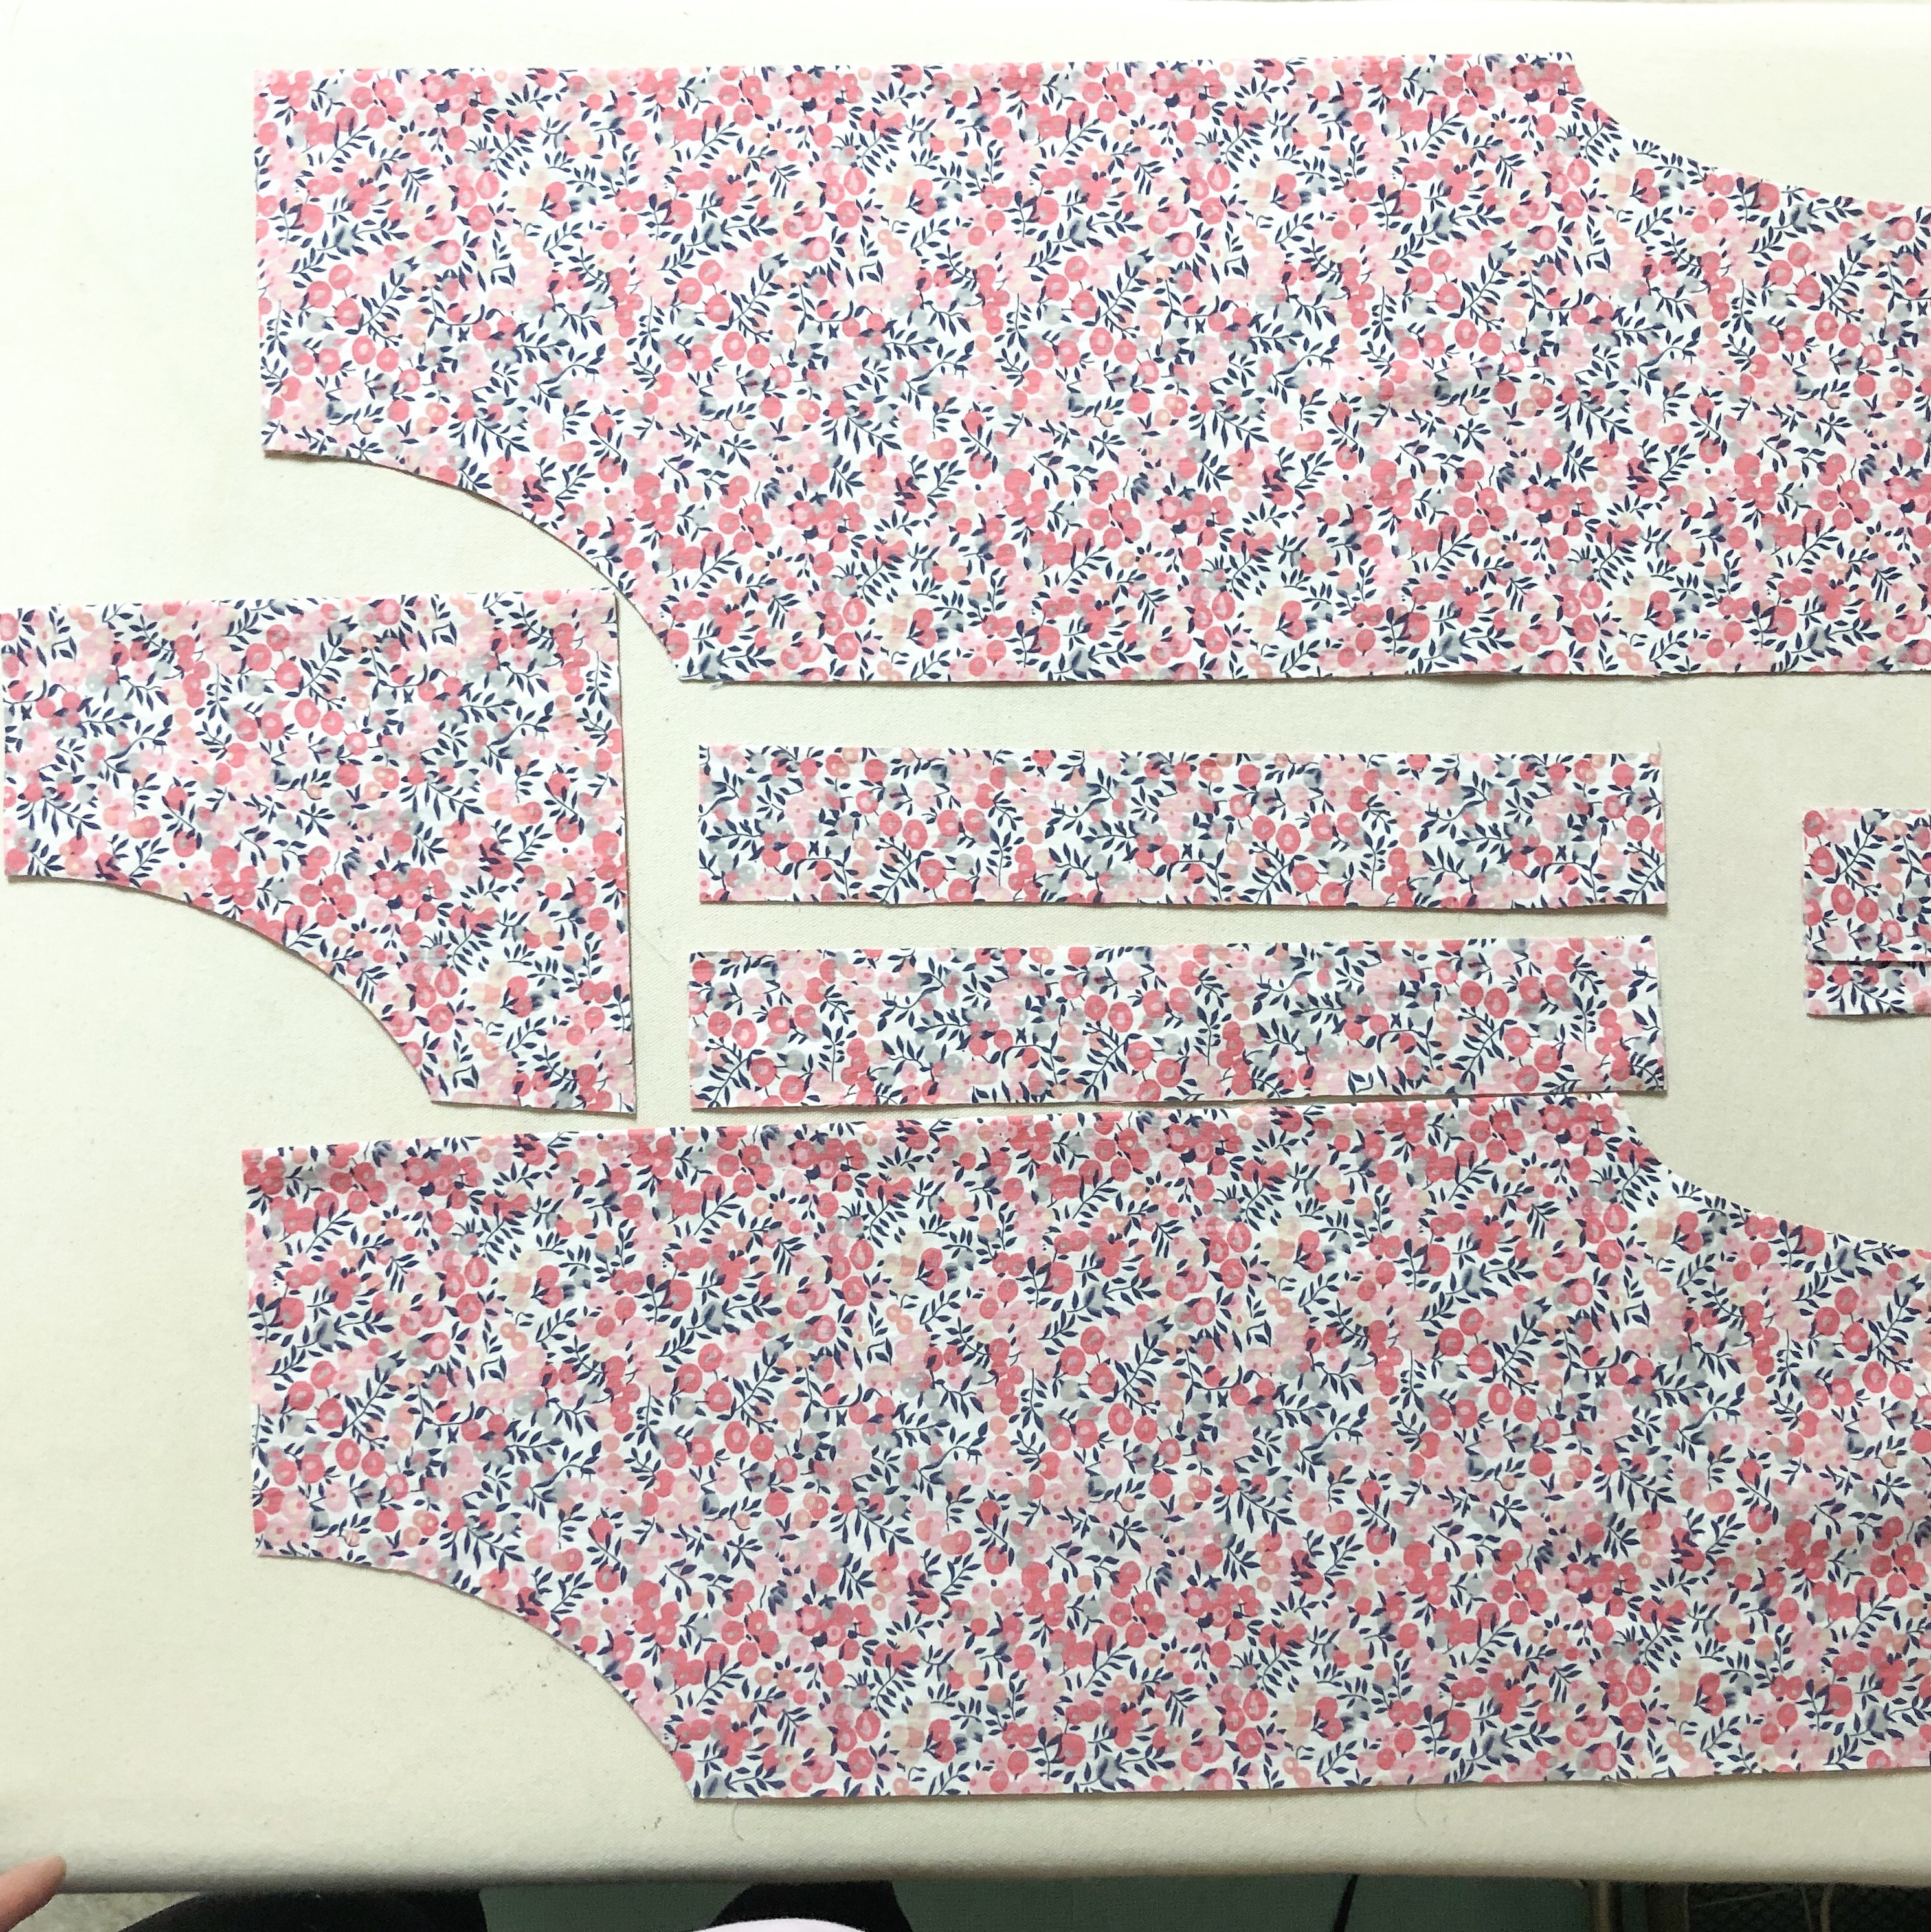
This pattern was 2 large pieces forming the romper, straps, and a lining.
I ended up traveling to my moms house to cut the pieces. I could have probably cut the fabric on my dining room table, but she has a large craft table with the biggest cutting mat you’ve ever seen. It took about an hour to fold the fabric right, pin the pattern pieces and cut them out for both sizes.
Day one of sewing was a fun day! The pattern recommended using a zigzag stitch on the edges to prevent the fabric from fraying. Of course my sewing machine decided it had other plans and started skipping stitches and knotting the thread. After hours of troubleshooting, my mom and I finally discovered switching to new thread fixed the problem. I later found out from Jenna-Rae (pro-tip coming) that cutting the fabric out with pinking shears would’ve done the same as the zigzag stitch.
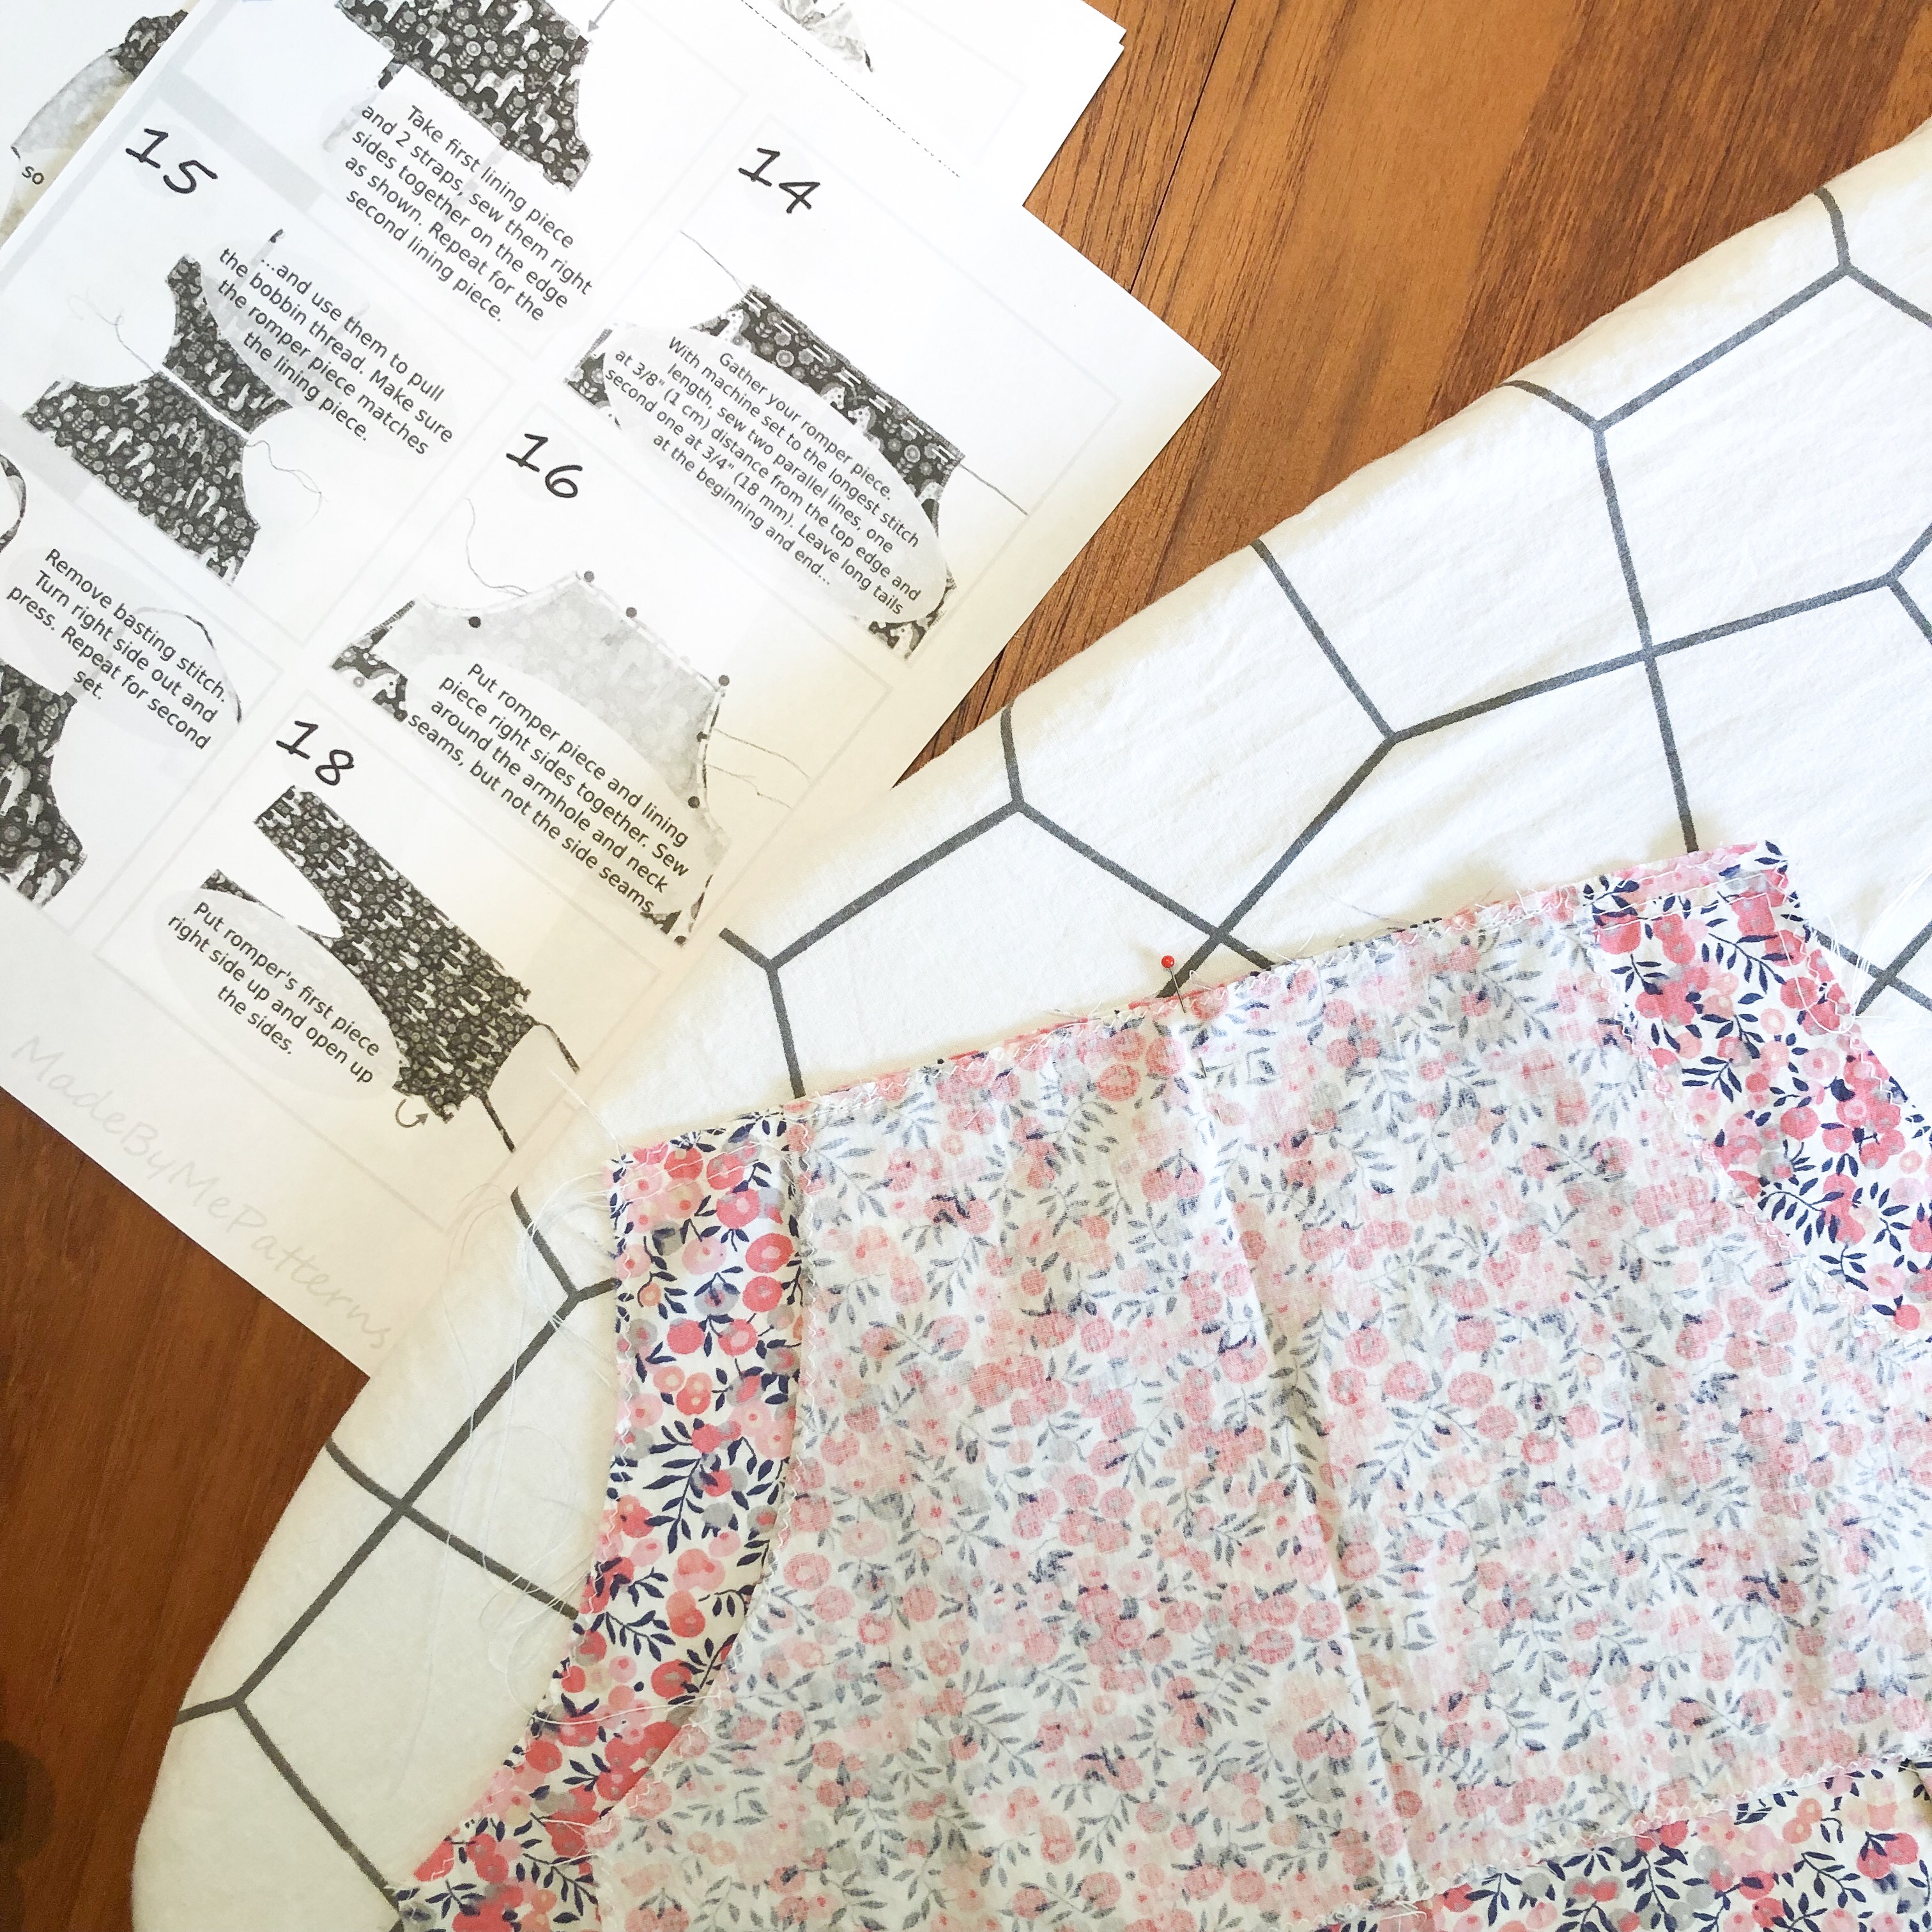
Piecing these rompers together went really smoothly. The pattern has simple instructions with clear images for each step. At first glance I was worried I wouldn’t understand, but as I went I understood the instructions more clearly. I sewed both rompers together during nap times over 2 days and I am so proud of the finished products!
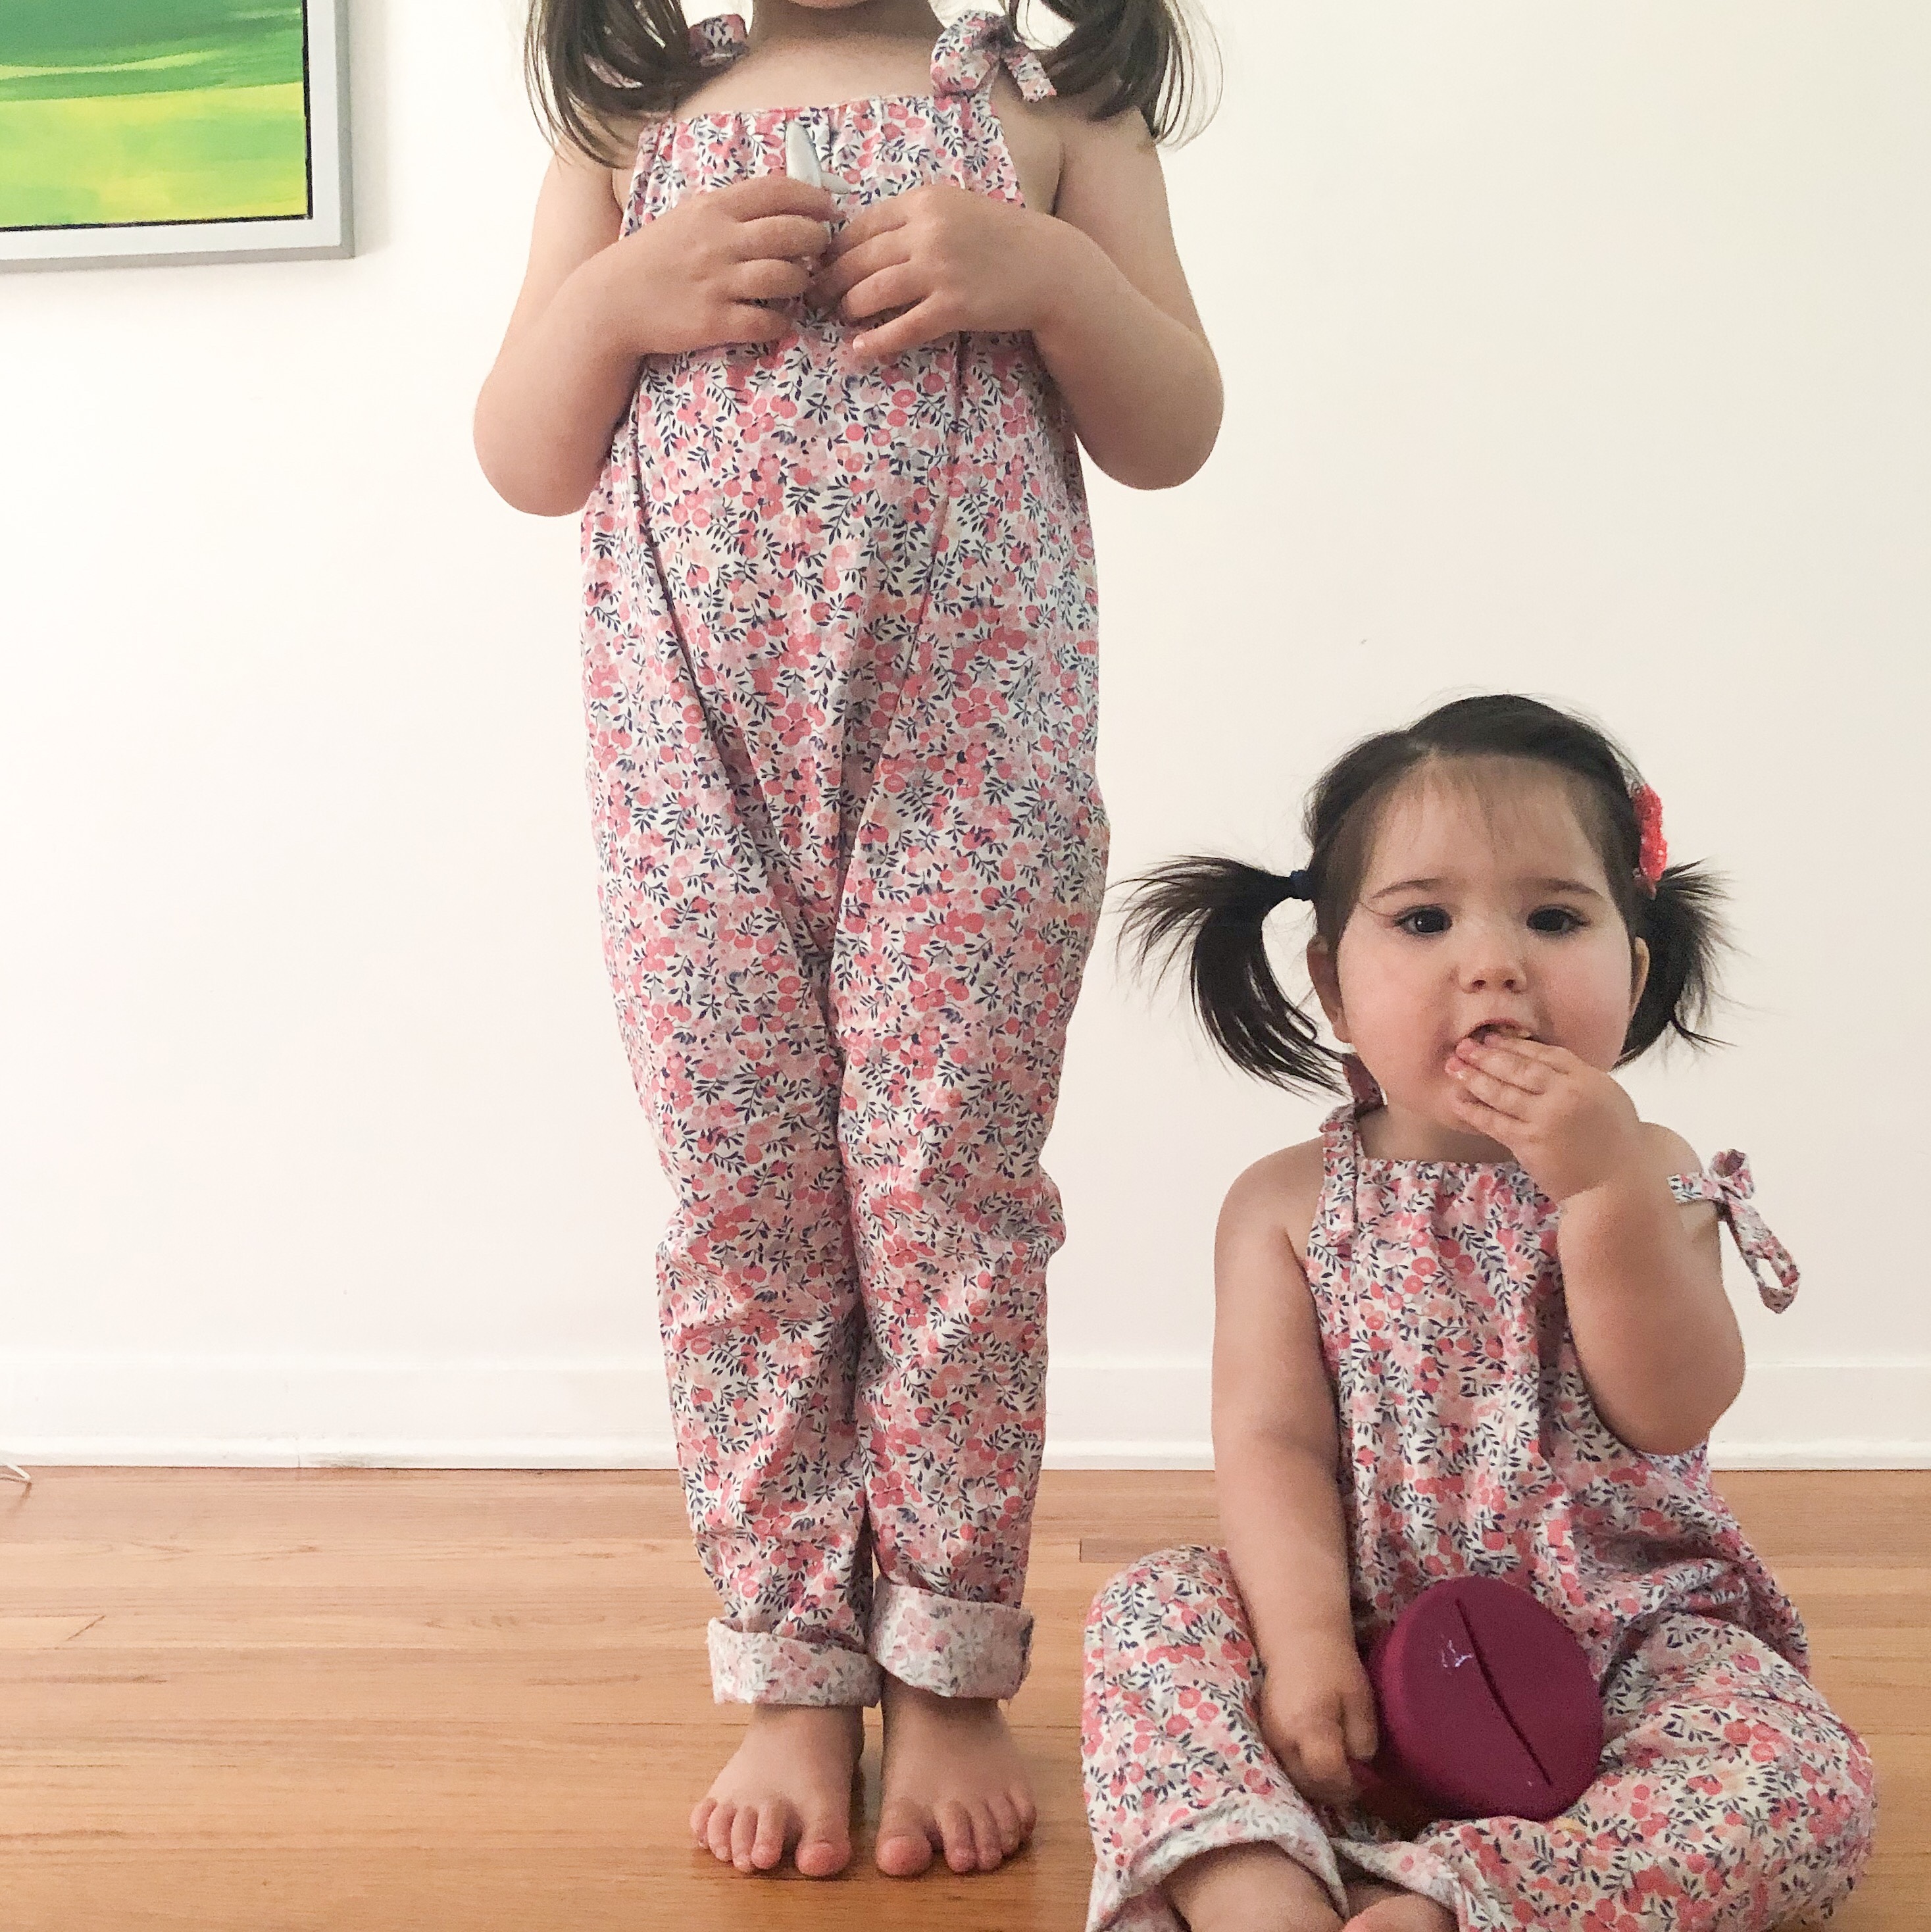
The girlies in their rompers!
If you live in the Ottawa area, I highly recommend checking out Fabric Crush. Not only are the women working there knowledgeable and passionate about all things sewing, they also offer sewing classes for all levels, retreats, and an amazing community of creative sewists to connect with. I’m so grateful to have connected with this local company and look forward to continue shopping, sewing, and learning from them.